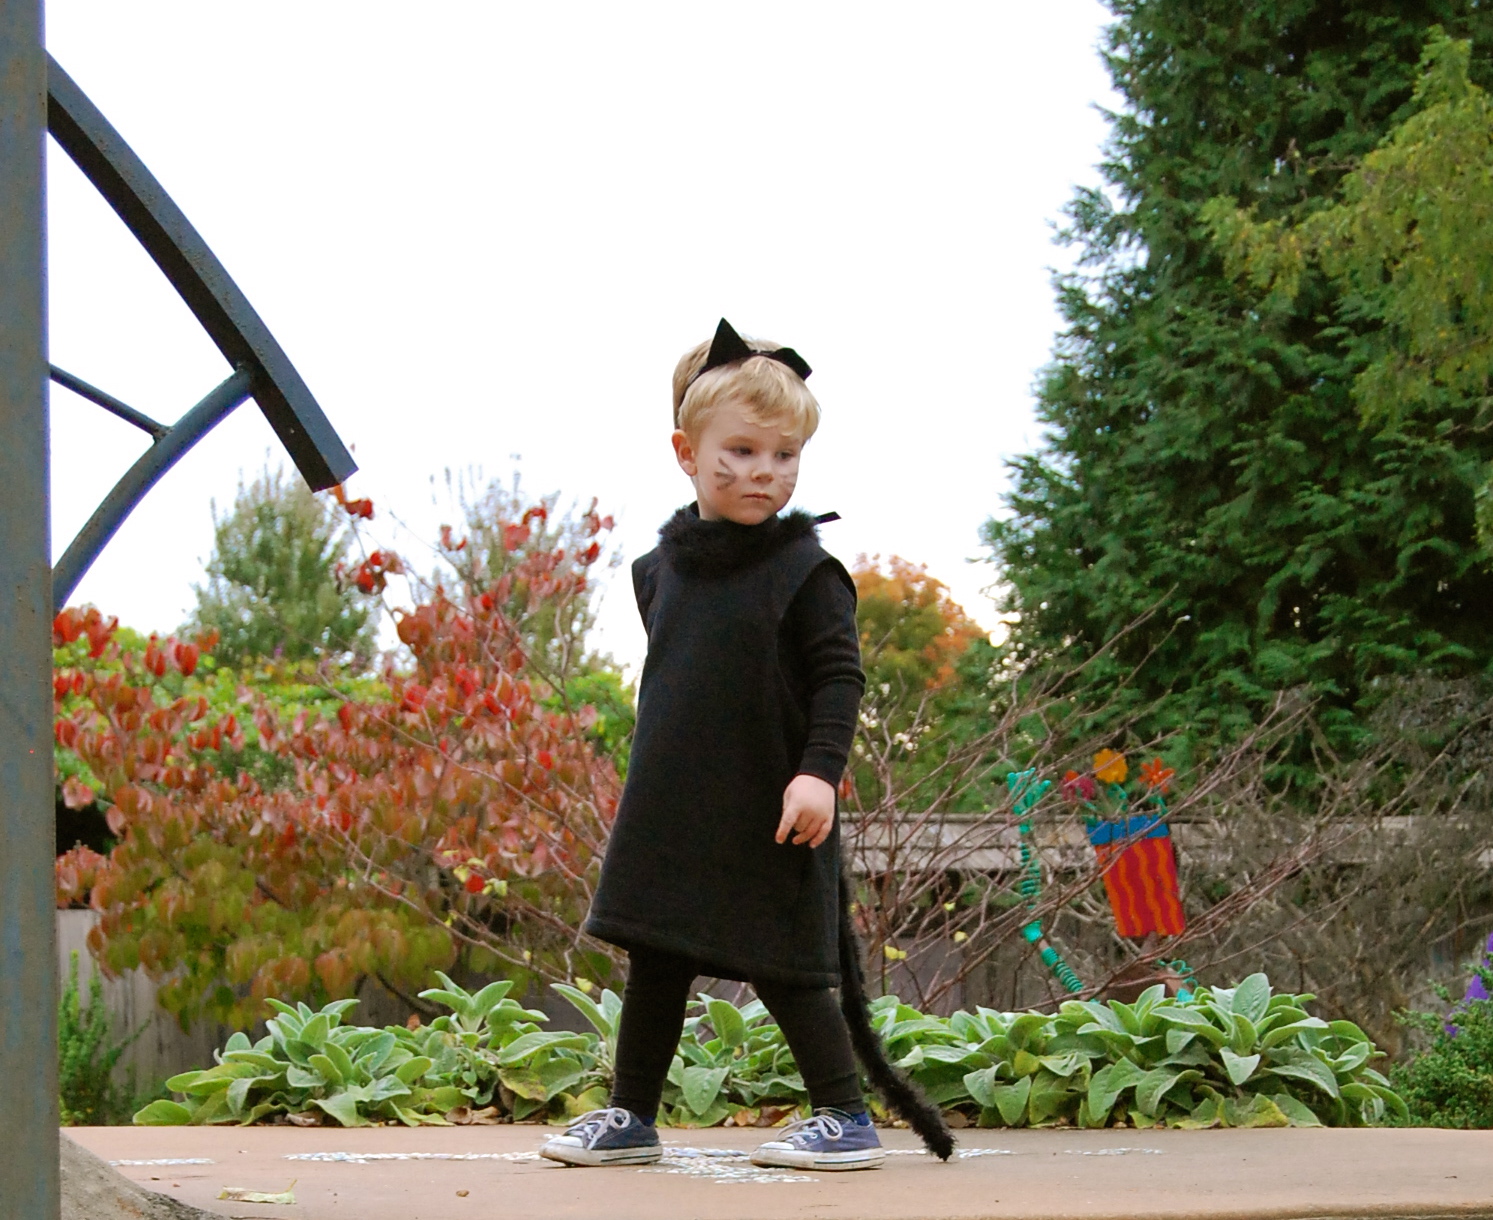
This Halloween was all about taking the easy road. So why the DIY costume you may ask. Why not hightail it to the nearest Walmart and purchase a costume and be done with it? THAT would be easy, right? It’s true, I can’t think of anything easier. The thing is, I already had this costume made from last year. I know, I know, not everyone has an unused DIY costume to reach for, but I swear, I whipped this one together super last minute last year. Only, my kid flat-out refused to wear a costume last year. I wasn’t going to just let my handiwork go to waste! Okay, I did last year, but that was only because I knew that it would still work this year.
Now, last year I thought I would blog about how to make the costume and I even remember taking step-by-step photos for the post. However, those photos are nowhere to be found. In fact, I may have just imagined doing that. Luckily, I still had this inspiration post pinned on a Pinterest board, waiting for me. The costume can be done with absolutely no sewing, but I did do a tiny bit of sewing.
We started with a base of a black turtleneck and black leggings (I couldn’t find what I wanted in the boys’ section, so I just picked up a pair from the girls’ section at Walmart). Then I used an oversized (big boys size small) crewneck sweatshirt and cut off the sleeves. If you can find one that is not raglan sleeves it will probably be easier, but this worked just fine. Then, I turned the edge in and glued it with fabric glue. I am sure you could skip the sweatshirt if you want to, but we were glad we had it when the weather for Halloween festival at the Botanical Garden of the Ozarks ended up being chilly and wet.
A few things I did differently:
Ears: The post I linked to says to use some of the leftover sweatshirt sleeve material to make the ears. I tried this, but felt like it was too droopy. Especially if you add some of the marabou to it as they suggest. The glue only helps so much. Instead, I cut triangles out of felt and glued them to the headband.

Tail: They suggested to glue the tail to the back of the sweatshirt, but when I had it pinned with a safety pin to figure out where to glue it my child was able to easily rip the tail off. This prompted me to sew it in place instead of using glue. You could probably do glue and see how it holds up, then if it doesn’t seem to hold well you could always still put some stitches in it to reinforce it. We also wrapped some electrical tape around the end of the wire hanger so that it wouldn’t poke through.

Whiskers: I knew there was no way my kid was going to let me put floral wire on his face for whiskers so I skipped this step and drew some on with face paint. Simple.

I think it turned out super cute, if I do say so myself. That ridiculously good-looking kid has something to do with the cuteness factor, but I take credit for him too!
I’m linking this post up on my friend Lacie‘s Funtastic Friday Link Party and her fabulous Halloween Blog Hop (Check it out, there’s a giveaway, too!)
Save
Save
Save
Save


